
Dental Photography Essentials: Capturing High-Quality Clinical Images
In the realm of modern dentistry, clinical photography has become an indispensable tool for diagnosis, treatment planning, and communication with patients. Capturing high-quality images that accurately represent oral conditions requires a blend of technical skills, proper equipment, and a keen eye for detail. In this blog post, we delve into the essential aspects of dental photography that every dentist should master. From choosing the right equipment to mastering lighting techniques, our insights will empower you to elevate your clinical photography skills and enhance your practice's efficiency and patient communication.
Selecting the Right Equipment for Dental Photography
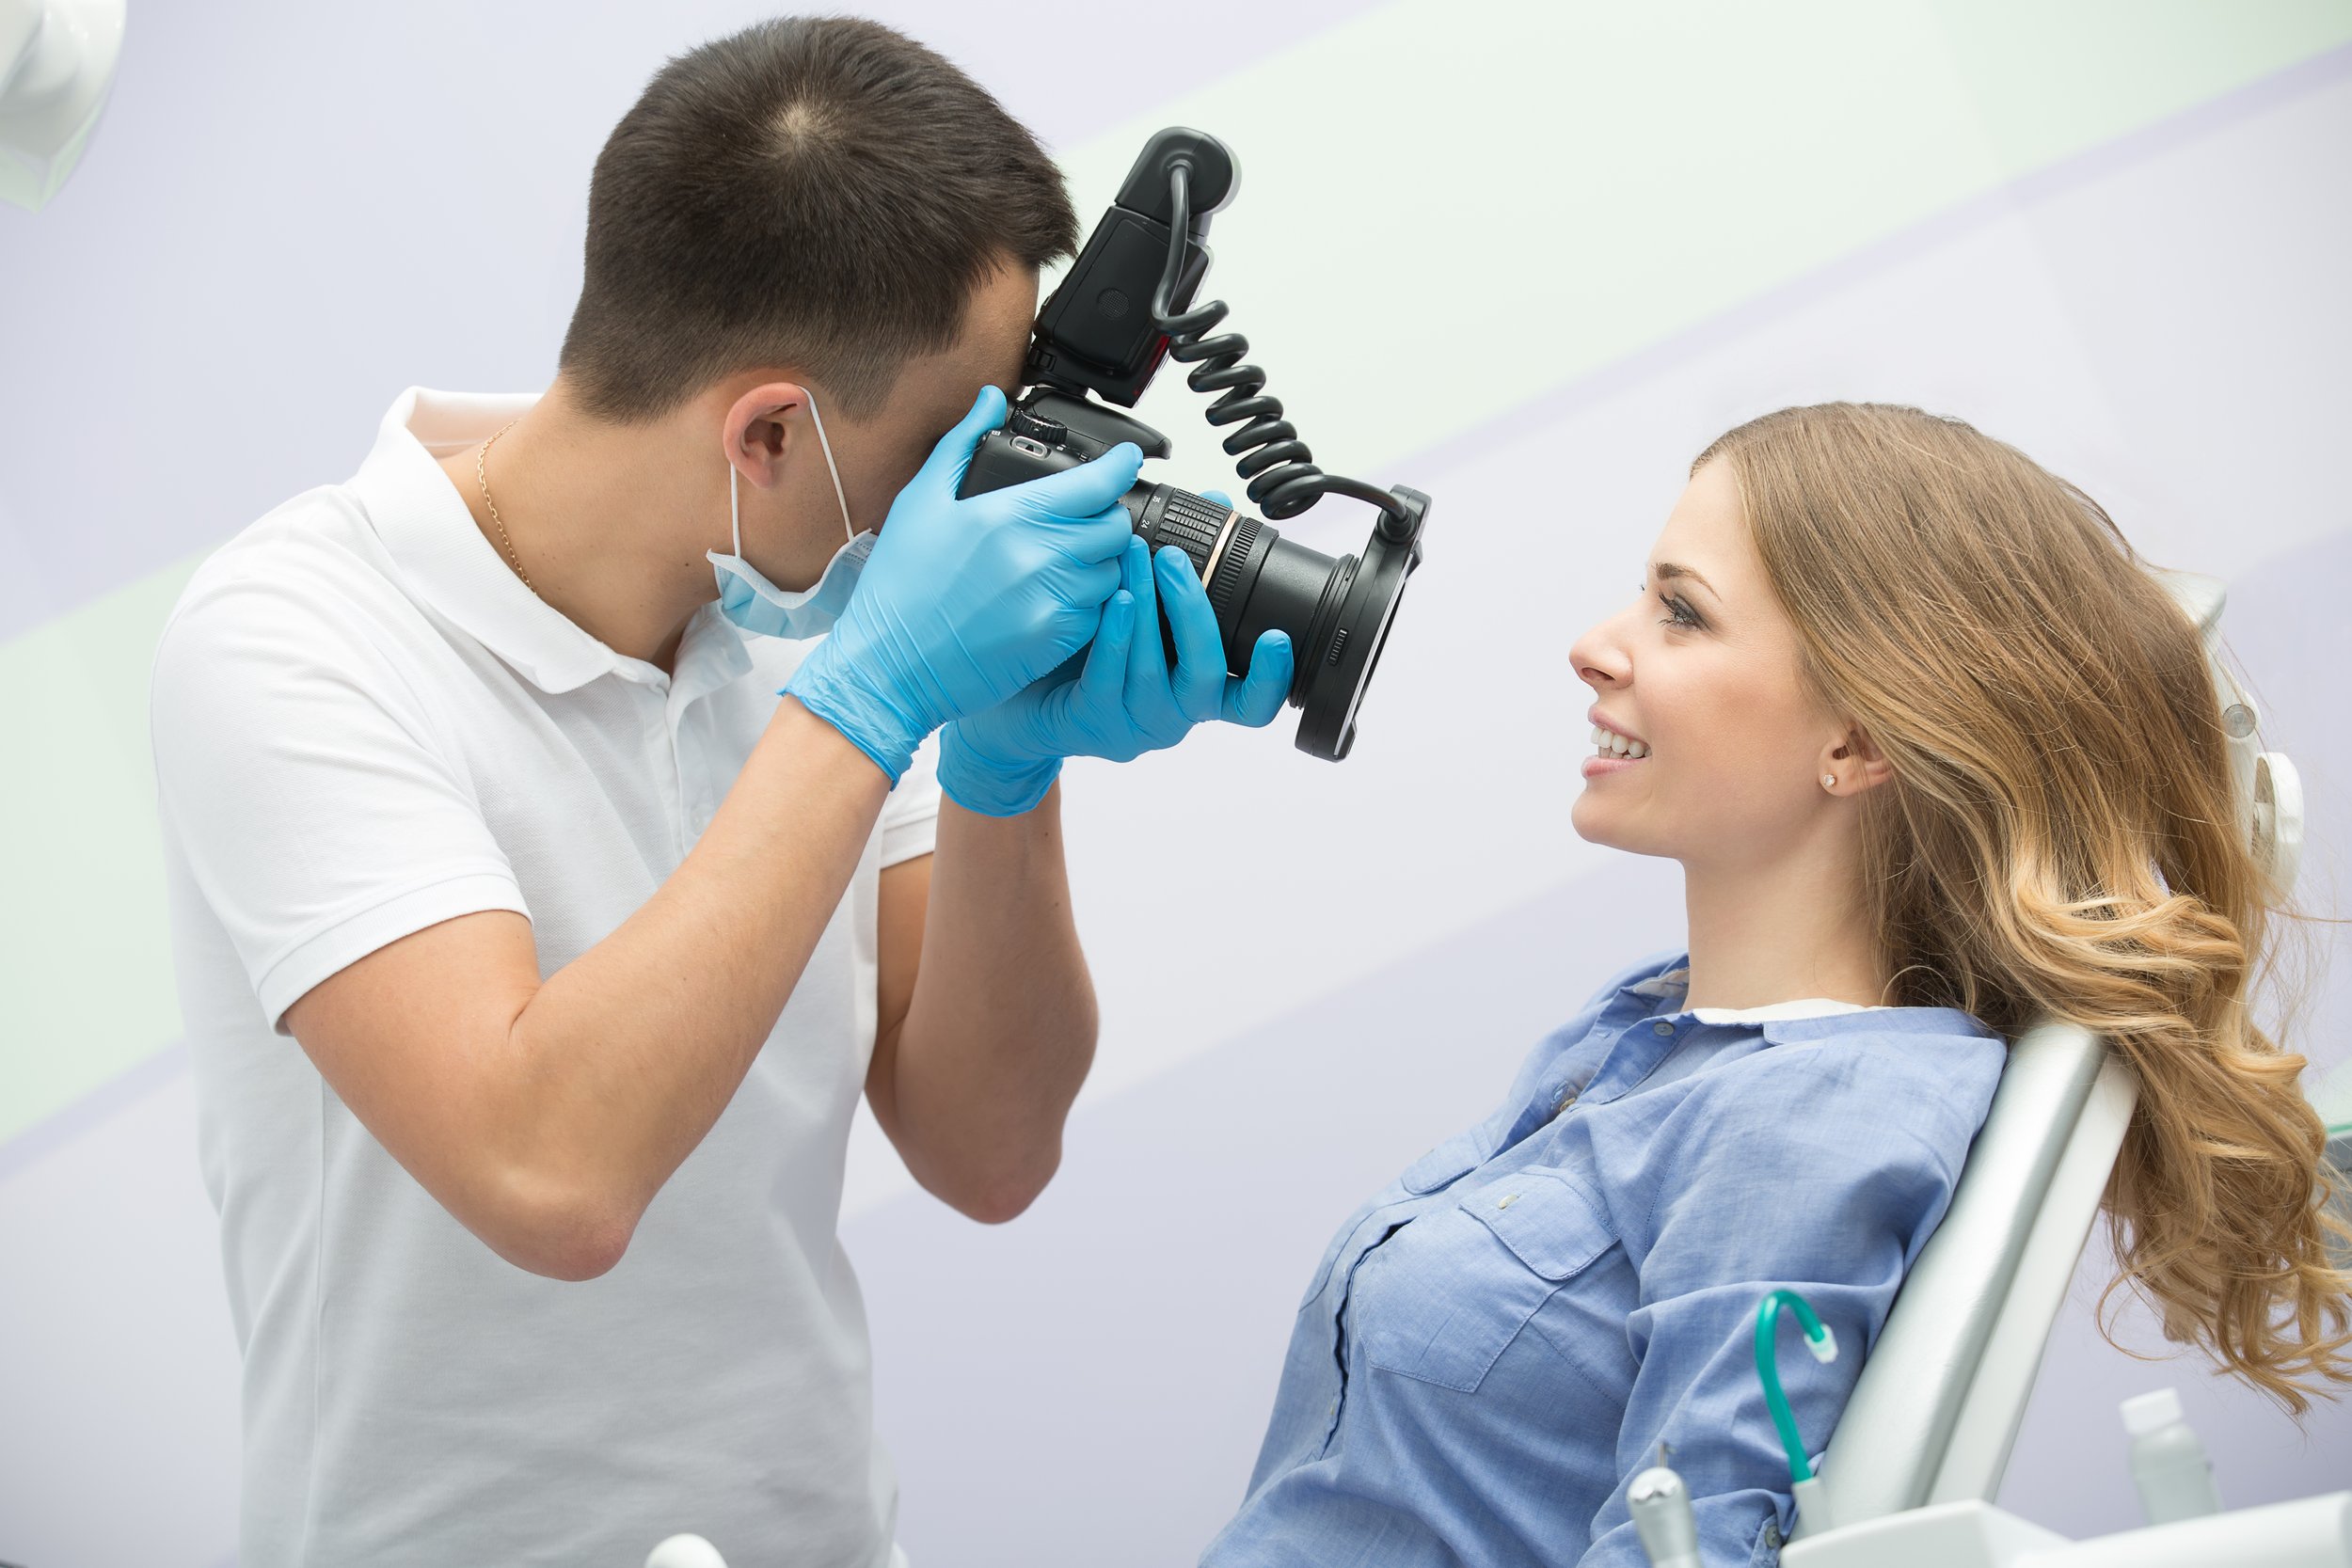
Achieving exceptional clinical images begins with using the right equipment. Invest in a quality digital single-lens reflex (DSLR) or mirrorless camera with macro capabilities to capture intricate details. Coupled with a reliable set of macro lenses and a ring flash or twin flash system, you'll have the foundation for capturing images with excellent sharpness, clarity, and color accuracy. Utilize the camera's manual mode to have full control over settings like aperture, shutter speed, and ISO to customize your shots according to the desired outcome.
Mastering Proper Lighting Techniques
Lighting is paramount in dental photography, as it can drastically affect the quality and accuracy of your images. Achieve consistent and controlled lighting by utilizing a ring flash or twin flash system. This setup provides even illumination, minimizing shadows and reflections. Additionally, consider using retractors and mirrors to manipulate lighting angles and enhance visibility in difficult-to-reach areas. Natural light can also be harnessed effectively when available, particularly for capturing subtle shades and surface textures. Immediate Pouring of Impressions with Die-Keen Model Stone
Ensuring Accurate Color Representation and Focus
Accurate color representation is crucial in clinical photography to aid in diagnosis and treatment planning. To achieve this, set a custom white balance to match the lighting conditions and ensure true-to-life colors. Regularly calibrate your monitor to ensure that the images you view accurately reflect the colors captured. Achieve precise focus by using a tripod or stable surface to minimize camera shake. Utilize focus stacking techniques when necessary to capture intricate details across different focal planes.
Proper Image Documentation and Management
Consistent image documentation is essential for tracking patient progress and treatment outcomes. Implement a standardized protocol for capturing images at various stages of treatment. Organize and store images in a secure and easily accessible manner, utilizing appropriate patient identifiers for confidentiality. Consider integrating image management software that allows you to efficiently categorize, retrieve, and share images as needed.
Unlocking a Streamlined Workflow with Us
As you strive to master dental photography and its numerous benefits, consider taking the next step by partnering with us at Dental Science Lab. Our expertise in case handling and restoration fabrication is seamlessly aligned with your commitment to high-quality clinical images. When you sign up with us, you'll not only elevate your clinical photography game but also gain a trusted partner to seamlessly handle your cases with precision and care. Begin by sending us your cases and experience a streamlined workflow that enhances your patient care and practice efficiency. Start your journey toward superior dentistry today by joining our network of dental professionals who prioritize excellence in every aspect of patient care.